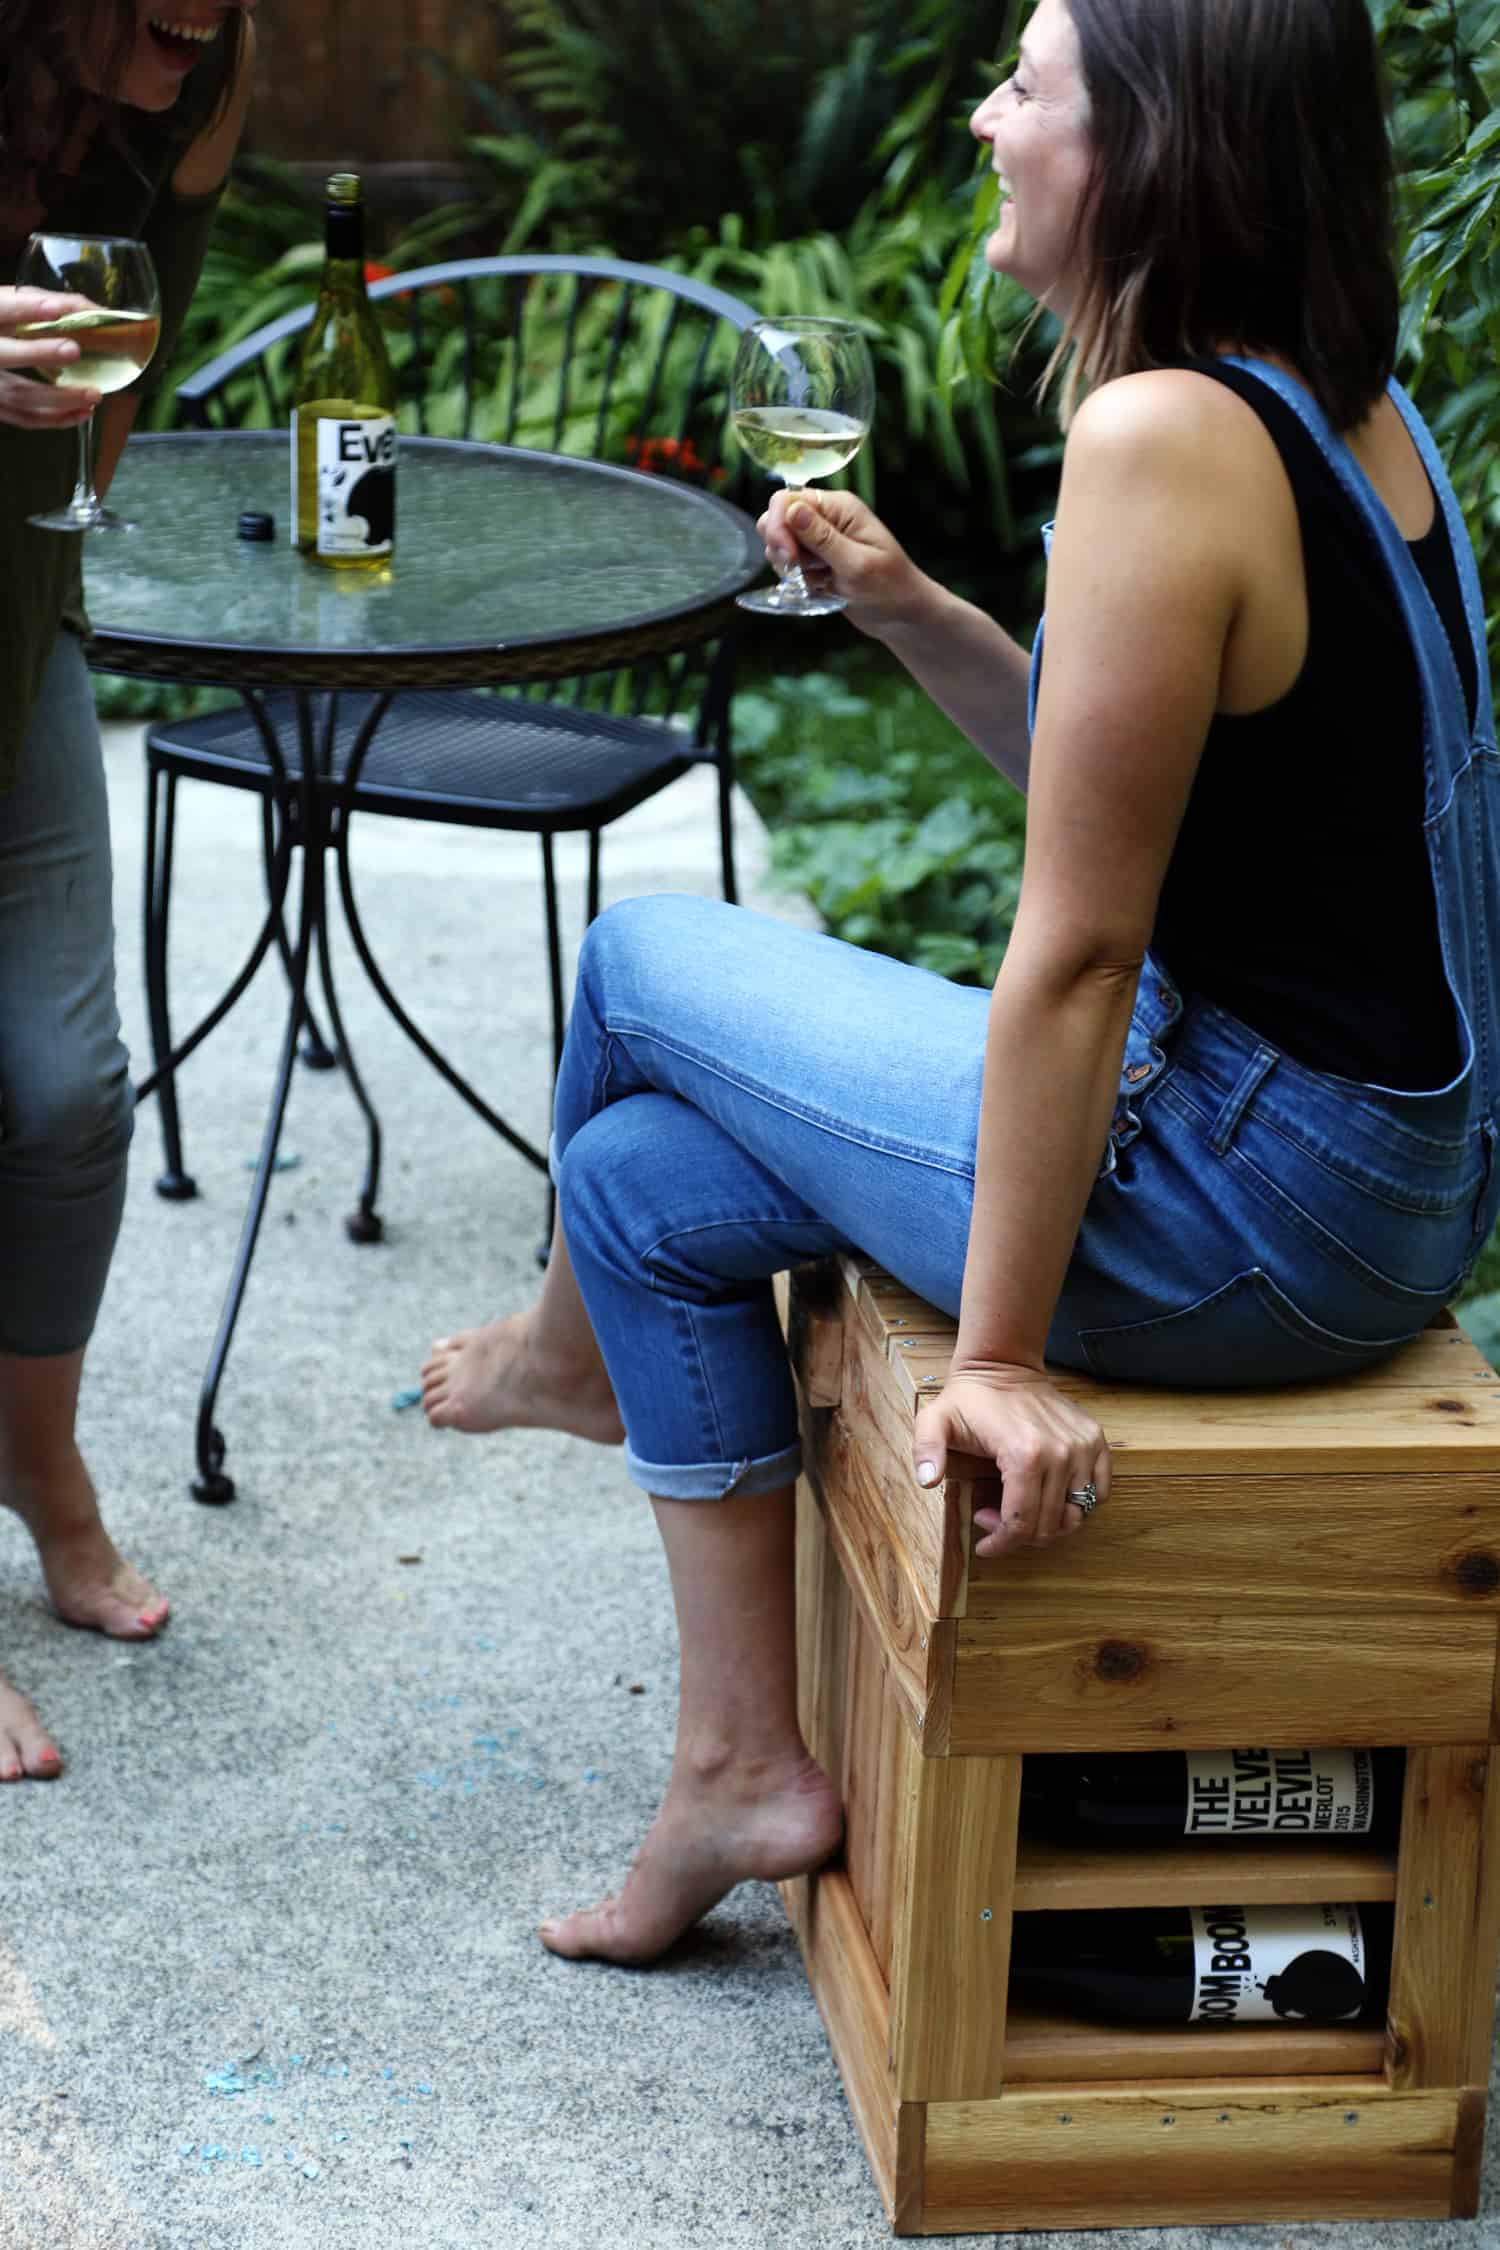
With a Cooler Bench Wine Rack you can always have everything you need for a refreshing drink – including the seat!
Perfect for outdoor socializing, simply load up with wine, ice and other beverages and you’re good to go!
Simple patio social hours
Winter social time usually revolves around elaborate holiday parties but once the weather gets warm, everything is slower and easier. Summer time entertaining at my house is often as simple as an impromptu knock on the door followed by an invitation to enjoy a glass or two of wine on my patio.

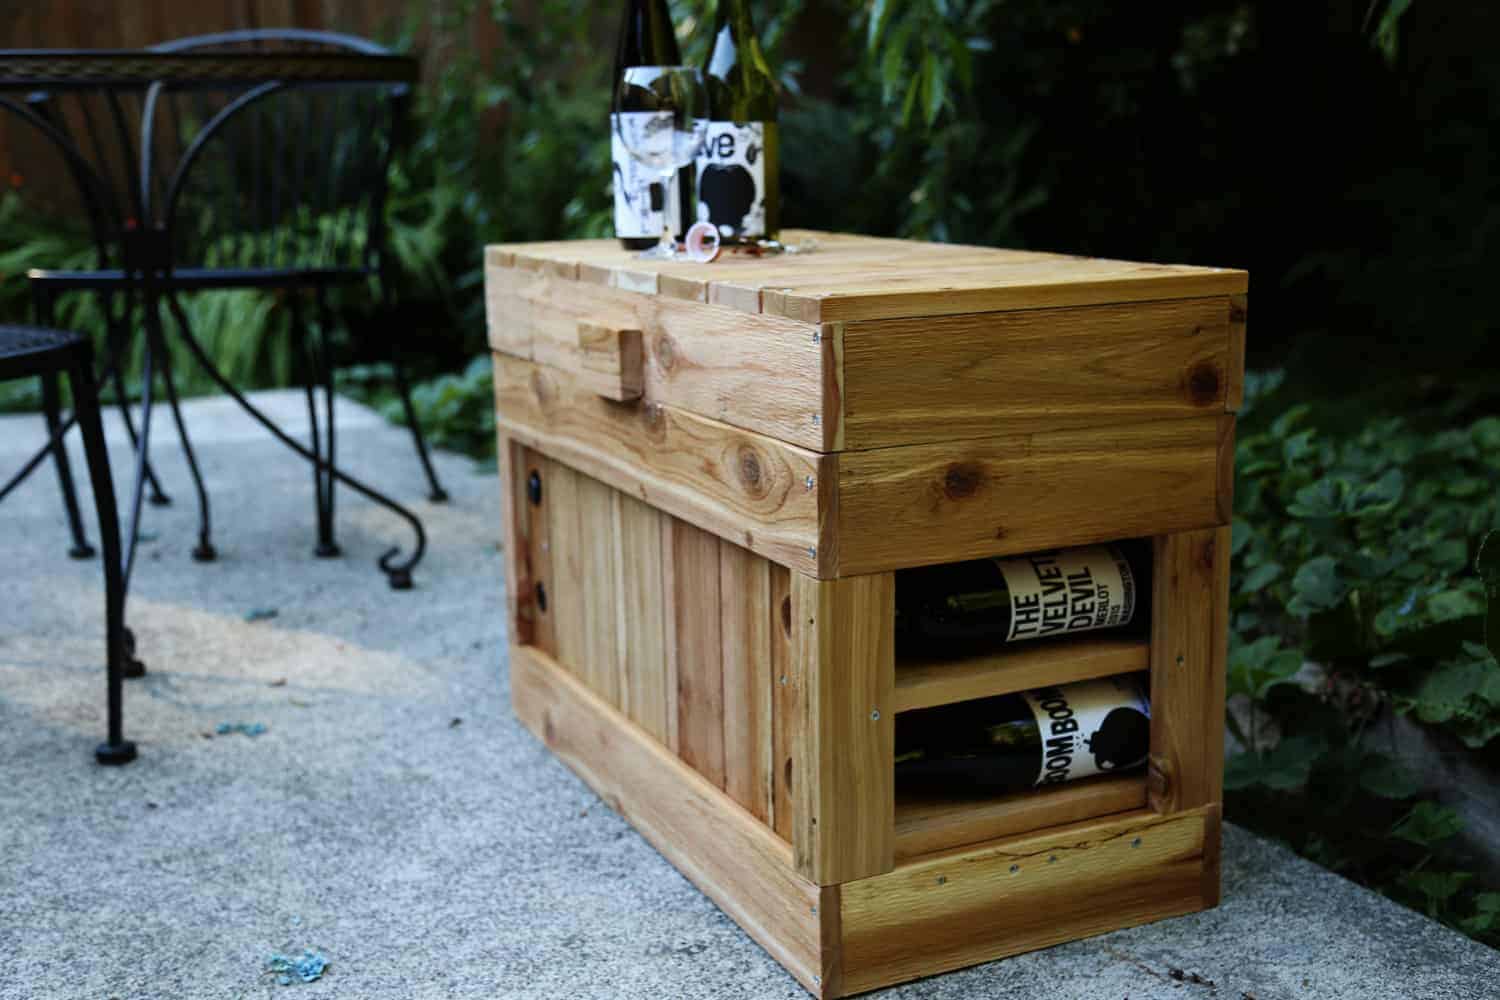
My husband recently made me a Cooler Bench Wine Rack that makes enjoying spur of the moment down time with my girlfriends effortless.

This shop has been compensated by Collective Bias, Inc. and its advertiser. All opinions are mine alone. The following content is intended for readers who are 21 or older. #WAWineTime #CollectiveBias

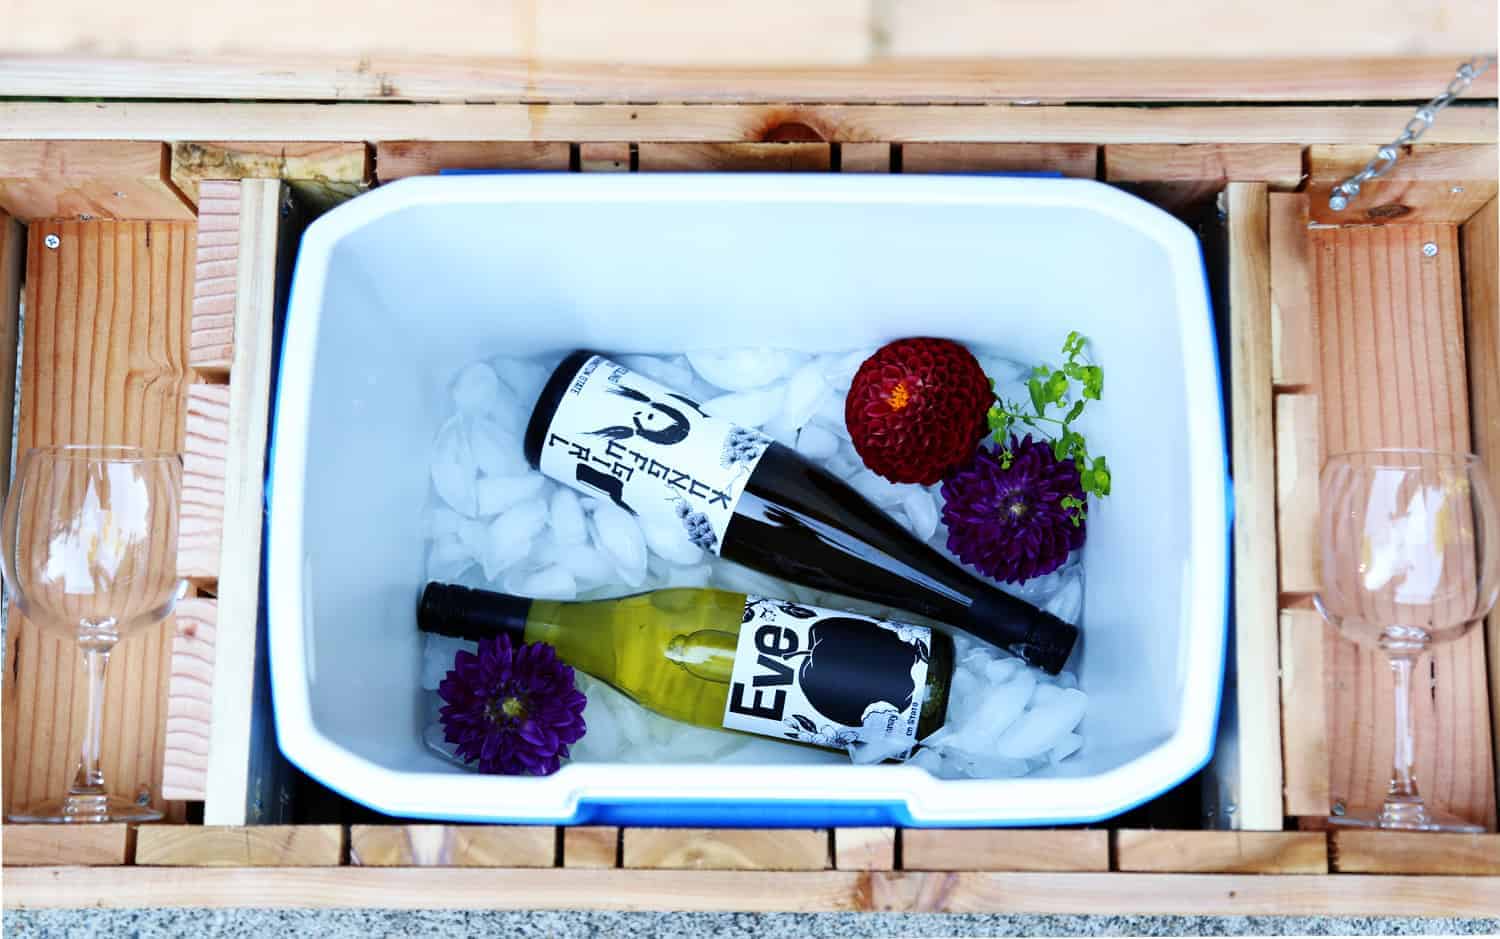
The enclosed cooler keeps white wines chilled and red wines are within reach in two wine racks on either side. I just love how cute and functional it is! The perfect multi purpose seating for my small patio space.


Including fresh flowers in the cooler make every day a bit more special. For gifts, I stock a disposable cooler with flowers and wine and it’s a nice surprise when entertaining. Simply snip stems and place down in the ice, the cool water keeps flowers looking great all day long.

To make your own Wine Rack Cooler Seat follow the directions below and relax your days a bit. After all summer, like wine, is meant to be enjoyed.
Supplies
- 1 cooler, any size
- 1″x4″ cedar boards
- wood glue
- 1 ¼″ construction screws
- one large hinge
Step by step instruction
- Remove cooler handle and measure dimensions.
- Add 10″ to the length, and 2” to the width. Using the new dimensions create three identical frames that will be the seat top, bottom and lid.

- Attach boards cut additional board as high as the cooler and equally space them between the upper and lower frame.

- Create the lid by attaching boards to the top of the last frame.

- Attach boards across the bottom to create a base and insert cooler.
- Attach the lid to the seat using the long hinge. Add a divider on either side of the cooler and insert a board to create two shelves.

- Using a 1 ½” paddle bit, drill a hole from the front of the bench above each of the four shelves to hold the wine bottles.

- Stock with your favorite beverages.
- Enjoy!


Ingredients
- 1 medium cooler any size
- 10 1×4 cedar boards
- wood glue
- 100 1 ¼" construction screws
- 1 large hinge
Instructions
- Remove cooler handle and measure dimensions.
- Add 10" to the length, and 2” to the width. Using the new dimensions create three identical frames that will be the seat top, bottom and lid.
- Attach boards cut additional board as high as the cooler and equally space them between the upper and lower frame.
- Create the lid by attaching boards to the top of the last frame.
- Attach boards across the bottom to create a base and insert cooler.
- Attach the lid to the seat using the long hinge. Add a divider on either side of the cooler and insert a board to create two shelves.
- Using a 1 ½” paddle bit, drill a hole from the front of the bench above each of the four shelves to hold the wine bottles.
- Stock with your favorite beverages.


Andrea
This is such a cool and functional idea! I love it! Thanks so much for the easy to follow pictures!